Sections

Showing posts with label loom knitting. Show all posts

Monday, December 30, 2013

Loom Knitted Baby Blanket

All the loom knitting I've done so far has been using both sides of my long loom, back and forth, double-sided I guess? Like this one here. One of these days I'll learn the proper terms to better describe what I do for you guys.

Anywho, I have a friend who had a baby boy 2 months ago. I decided to make him a baby blanket, out of that really, really soft "Baby Blanket Yarn", using a new stitch technique. I used the video tutorial here from Loomahat.com to make the blanket, using a stitch that goes around the pegs on the loom, and I used my longest loom. My friend also chose a Monsters, Inc theme for the nursery so when I found this yarn that's mostly white with the soft blue and green bits in there, I couldn't resist!

The results:


I love it!! The pattern that switches back and forth between purling one row, e-stitching the next, is such a pretty pattern and so easy to do!!


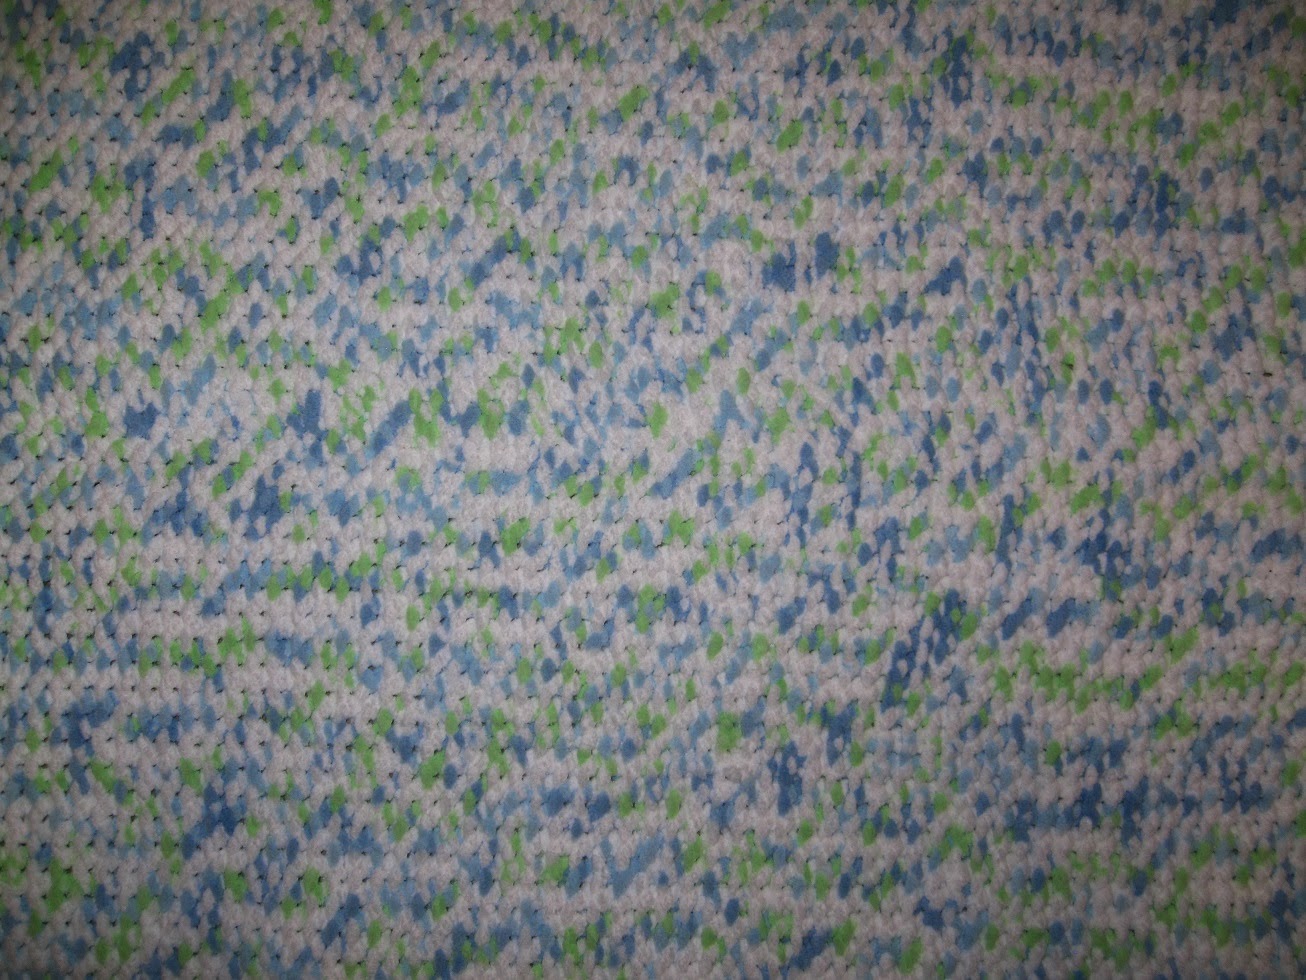
Then there's the edges. The way you wrap the outer edge pegs, forms this awesome rope-like edge that just looks so finished. It looks good head-on...


...and from the front!


I had to use 2 skeins of yarn, so there is the inevitable tie-off knot in there, and this is what it looks like up close, but you'd be hard pressed to just see it when you look at the blanket as a whole.


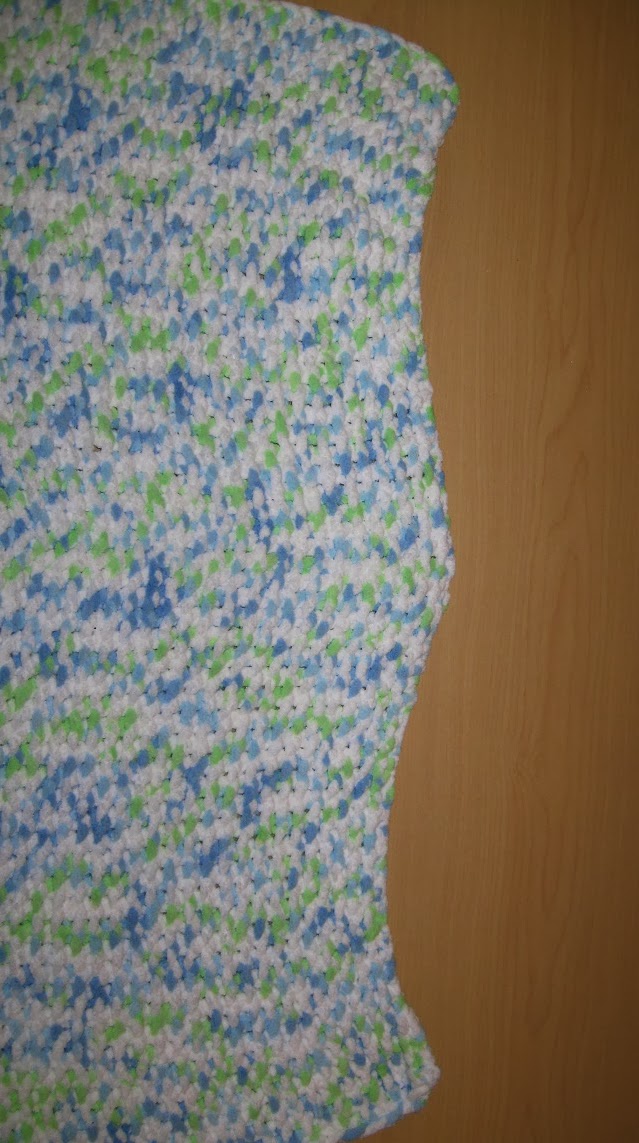
The only truly hard part I had was finishing the darn thing off. I will say, the YouTube video was pretty alright, except when she's showing you how to finish it. She accidentally goes off-camera with her hands and the part of the loom she's working on so it was a little difficult for me to understand (probably mostly with my limited knit and/or crochet skills) what she did if your row gets tight and you need to add an extra stitch here and there. I sort of figured it out towards the middle, but by then, it's really hard to recover and it got tight again, forming this little scallop part. Oh well, mostly it looks just as finished as the first row and the sides, and a friend I showed it to told me that babies like to nibble, so maybe that's what he'll do with the scallop point?


All in all, this blanket took me about 24 solid hours of work, and is 30" by about 38" or so long. I will be sending it out to my friend this week and can't wait to see what he and his fiance say about it! I really hope they like it!!

Now that I know the amount of time and effort that goes into this type of project, I want to start thinking about doing smaller squares and make an afghan for myself to use in the living room when I get cold. That means I'd have to learn the whole stitching-pieces-together thing, but hey, challenges are fun! Right? Right!!

Craft ya laters!!

Monday, January 28, 2013

The Monthly Challenge - January Continued

I am still working on finishing my loom knitted scarves for January's:


I will show you guys scarves #4-#6 now, but I still have more ideas and I still have 4 more days to see how many more I can do!!!!

First off,  I finally finished that green scarf with the gold stripe!! YAYYY!!!!

What do you guys think?!?! Isn't it awesome!? Thing is, as much as I love how this one turned out, I either won't do another like it, or I'll just maybe have money for it next time... lol

Next up, I made another turquoise blue with fringe as the boss of the recipient of the last one wanted one so they could be twinsies! lol:

I love doing that single e-weave pattern cuz it's soooo easy and soooo fast!!


Next up, one I made for myself so that I can maybe wear it under my motorcycle jacket and keep my neck warm on those darn cold mornings:


I've had this yarn for a few years now and just didn't know what to do with it.....until now!! I just LOVE the way the rainbow colors are laced into the green, don't you?! I didn't use the full loom as it's 12 pegs on each side since I only had so much, so I'm really glad I made it only using the inner 8 because that's the only way I got it long enough to actually matter!!

Now, I know I promised a sort of how-to on making the green/gold striped scarf, but I went ahead and least took pictures to give you a good idea of how I did it. If you have done any loom knitting, or possibly just any knitting or crocheting in the first place, you'll probably understand better, but hopefully if not, the pictures at least give you some sort of idea on how I conceived the pattern:

The above picture shows you what it looks like before you start a row. The middle shows the first part of the gold weaving, doing a double e-weave wrap and then the 3rd picture shows the next step which is to wrap the gold around the middle two peg pairs to get a double layer only on those middle 2 pairs of pegs.

Next, I wrapped the green around using the double e-weave, wrapping the first and last gold pegs and crossing over the gold in the meantime. Lastly, I wrapped the green around the loom again, only, I skipped any gold pegs and only got the double layer on the green only pegs. Once you have 2 strands on each peg, you can loop the yarn over the pegs, push them down, and on to the next row!! To start and end the whole scarf, I just did 2 rows of green only, doubling up on all pegs using the double e-weave pattern.

Ever have one of those things you're trying to figure out how to do, or do better? You think and think and think, and you just cannot think of a good way to do it... then one day, BAM! You finally think of something that'll totally work! This was one of those things. When cutting pieces of yarn for fringe, it seemed a little hard to measure to match one piece, or guesstimate and then trim after. I decided I wanted to use a ruler last night but since I couldn't find any.... I grabbed a 3-hole punch that has about 9 inches marked off, put a piece of masking tape on the floor and just marked off increments of how long I wanted the fringe. This made cutting the fringe pieces soooo much easier, and I barely had to trim one little group of fringe after wards! w00t!


Alright guys! That's scarves #4-#6!! Later this week I hope to show you at least 2-4 more that I've done to complete my challenge for this month!! I want to use a gorgeous chocolate brown and gold I got of the Simply Soft - Caron yarn to do 2 different scarves; one with vertical stripes where the gold and brown overlap in the middle and the other with horizontal stripes between the 2 colors all the way through. I also want to maybe try and make a scarf with a gray and cobalt blue yarn and try something like a zig zag throughout the length...?? Either that or I'll just attempt to make a few cowl scarves with buttons to close them.

Craft ya later!!

Sunday, January 13, 2013

Loom Knitting - Jan 2013 Monthly Challenge


The Challenge for January, as the title states, is loom knitting. Loom knitting is a way to make things with a loom that you would otherwise crochet or knit with hooks or needles, only, on a loom! Duh, right? Well, anyways, my bff was working on a scarf right before New Years and I saw and was immediately intrigued! I asked what she was doing, and if she could teach me!!

The funny thing is, I've been doing something similar for years, only not in such a large scale or as nice. The other funny thing? You guys have already seen what that particular form is!:


Simple finger weaving I did to make Halloween garland decorations.


Some of the Christmas garland I made and put up around the fireplace, over the valance/curtains and under the bar like I did for Halloween. I got the yarn that changes color between red, white and green, and had the silver tinsley type pieces in there.
 As soon as my bff showed me how to do it, why, I went straight to my local Joanns, coupons in hand, and purchased 2 skeins of a super soft, gorgeous teal colored yarn and a 10" straight loom. She got me started and over the weekend, I made this:

It's such a simple thing, making a loom knit scarf. The 2nd picture shows what the weave looks like when stretched out, but bc the weave is so loose (due to my plastic loom having far set pegs), it most of the time rolls in on itself on the sides. That's ok though, because this wonderful 13 foot long scarf when worn, makes me just wanna curl up in it it's soooo soft!!

The next one I made was the same pattern, only, I added fringe this time! Once you realize where to put it, in between the rows at the ends, it's not that hard. The hardest part is getting them trimmed about the same length. I made it for a friend at work and she LOVES it! That's definitely a job well done I'd say!!
  
The next one I did, was for a guy friend in our group that fell in love with the idea of having a scarf custom-made when he saw mine over New Years and said that he would really really like one in a green that matches our friend's motorcycle. I did the same pattern as the previous two, only, a type of doubled wrap. The wrap just skips pegs and when you do a full row, covering all the pegs, it somehow makes the scarf look like it's 2 layered! Amazing!!:

I really liked how that doubled up look turned out so I went another step up and wanted to do 2 colors at the same time!! It started looking pretty neat:

However, things turned way sour when the tightness of the 2 strands of yarn made the looping around the pegs a little too tight:

As soon as I heard that snap and realized what happened, I almost started tearing up!! NOOOO!!! I couldn't believe I just did that!!! Mannn.... that meant I had to go back to Joanns and get another loom! :( But that's ok, I ended up getting more yarn anyways as their sales and coupons were still going pretty good for the New Year!!

The next scarf I started, I used the suggestion from the friend that got the green one earlier. He stated that the owner of the motorcycle we matched to wanted one also! Only, he wanted a gold stripe in his, not centered. I tried about 3 times and on the 3rd time finally decided on a way to make this scarf:


I had looked up different ways to add a vertical stripe online and on YouTube, however, I ended up just figuring it out myself the way I wanted to wrap and the above picture shows the weave I decided on. What you can't really tell, is that where the gold stripe is, there was a doubling up so that it was thicker than the rest of the green part. The way I fixed this was wrapping the gold around the 4 sets of pegs, then doubling back on the middle 2. Then I wrapped the top 2 sets of pegs green, went around the first and last set of gold pegs to overlap (so as to mic the 2 colors into the pattern and not create a gap the whole way down) and wrapped down, back up and skipped over the gold pegs on the way back. Then before tucking over to create the row, I wrapped the green a whole row again. Once I finished this 2-layered row, I was done and would proceed to loop over the pegs to finish the row. 

Once I finish with the whole scarf, I can post a how-to if anyone's interested in seeing exactly how I did it, with picture step-by-steps. Also, I have not been approached by this friend, and as far as I know, he doesn't even know I'm making this for him! I can't wait to see the look on his face!

Once I get these 2 scarves done, I have another 1 planned to make for one of the managers at my office (an exact match to the 2nd scarf with fringe), and then the colors/yarn/ideas for about 5-6 more scarves. If I make all of these, it will add up to 11-12 total scarves which would fulfill my January Challenge!! Stay tuned!!