Sections

Thursday, December 13, 2012

Butterfly Paint Chip Art

I know there's dozens of versions of paint chip art out there, but it is pretty easy, cheap and can be made into so many different kinds of art! You can just cut random shapes out or you could use craft punches to make uniform shapes and arrange them into your art of choice. I decided to do a few pieces and have finished 2 so far that I will show you today.

**Disclaimer - My pictures are of poor quality, I know... I wasn't sure where my camera was so you'll have to suffer through my phone's camera pictures. Also, I've found it's pretty darn hard to get purples photographed either way and think this time it wasn't so bad!**

My boss loves purple. I'm not so sure about butterflies, that's probably more me than her, but I decided to give it a go to make a piece and see if she likes it. So I grabbed a bunch of different color purple paint chip samples:


 I went ahead and started cutting out the strips to use for my craft punches:

My awesome little tiny butterfly punch! It had a catch-all lid on the bottom, but I removed it as it was an easy hinge and would keep flopping down and couldn't hold more than 3 or 4 butterflies without them trying to get stuck in the punch's body itself!!

On the far right is my awesome 3-in-1 butterfly punch I got with a coupon. It can cut a basic butterfly, a butterfly with just the dots along the wings, and lastly, it can do butterflies with the dots and the inner wings cut-out. Love this punch!! It is pretty messy though, but very easy to switch between butterfly punch choices, to actually punch and of course, both punches are easy-lock shut.


I wasn't using regular canvases as I only have a few and just wanted to make a few smaller pieces that are easier to put up on our desk cube walls. I used a flat canvas that's about 8 1/2" x 11" that I had 2 3-packs of. So far, that means no cost as the paint chips were free, already had the canvases, the punches and the paint to paint the canvas silver:

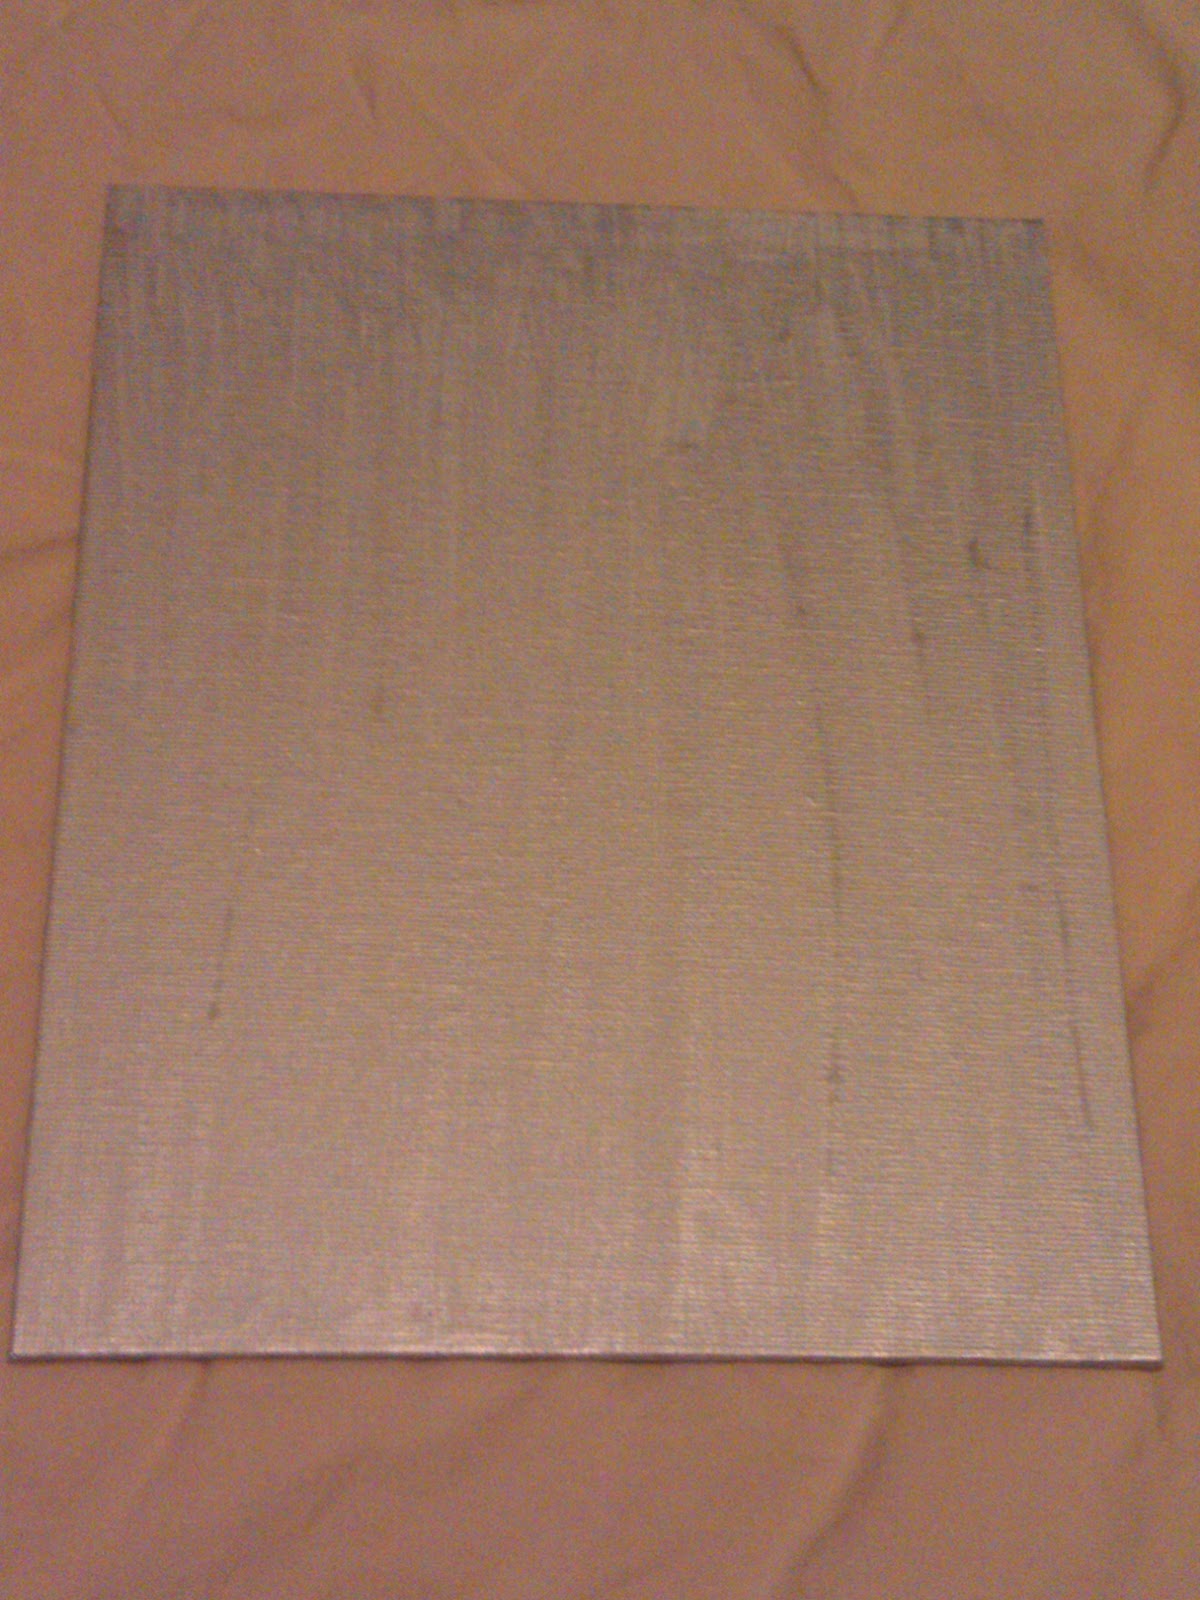
Nothing too special...


The thing that I don't really see in many posts where other people are doing this paint chip art is how freaking hard it is to get the design you're wanting juuuuuust right! I had a heck of a time deciding exactly how to do this since I didn't want to cover the whole canvas!

Arrangement one...

Arrangement two....

Arrangement three....
Needless to say, I tried a few different ways to put these things on here and was bothering my bff as she was hanging out with some schoolmates at a bar by texting her the various arrangements for her opinion. After sending her these 3 and maybe a couple more options, we settled on:


Her suggestion was to make them look more funneled from the bottom left corner to the top right. I was happy with this one and so I went ahead and glued them down. I used just a liquid glue stick thingie (my school glue sticks were apparently so old, they were dried out and looked like worms in their tubes... worms that didn't want to do anything but roll over and die :( I was sad...)

But there you have it!! What do you guys think?! I painted a second canvas with leftover silver paint since I realized I squeezed way too much on the first canvas, so there's a possibility of doing another one of these, especially since as soon as I was done and stood up, I spotted another butterfly punch I completely forgot I had (I've had it for about 10 years!) and it's a middle size between these two, just plain solid butterfly punch... I might try to do another version of this piece, maybe with the butterflies coming from middle bottom and splitting off to the sides? Lemme think on it and get back to ya'll.....

Also, wanted to share another piece I did as well in a similar fashion, only larger so that it's 16" x 24" or so:


I know, the other projects mostly cover a canvas as opposed to the whole thing, but I got a little cut-happy and made so many petals that I didn't want to NOT use them! And besides, I like it! :) That's all that matters, right? This one, I glued the pieces down, but then covered in a few layers of mod podge just to make sure none come up. I'm tempted to seal in resin later, and if I do, I will show you guys better pictures for one, and second, will show you guys the before and after!!

Til next time...........


Thursday, December 6, 2012

Making Candles From Scratch

I got momentarily interested in making my own candles some months ago, well, I've gotten interested before, but not enough to spend about $100 on supplies to make candles! So I went with my mom (who was also interested, but more for re-using partials she's had for years and basically re-fashioning them) to our local Hobby Lobby (heretofore - HobLob) and spent probably 45 mins to an hour perusing all the different supplies they had there. I ended up with 1" and 3" wicks (we were tempted to get the wooden ones, but decided those could be for later, like holidays later), a 10lb slab of parafin wax, some random votive and tealight holders to put the wax into, a 6-pack of scents, 3 color dyes, stearic acid, a book and a candy thermometer. Then I went to the local Walmart and got a cheapie $15 double-boiler set of pots.

After spending that much, I was ready to get home and get to cooking! I briefly glanced through the book I got as I was too excited to do TOO much research first, and really only went for what temperature the wax should get up to for our particular type of candles/holders. We then proceeded to make some easy little candles in glass holders that would otherwise be for tea lights and maybe a few random jars she had lying around. The results:


Close-up of 2 tealights and 1 of the jars.

My attempt at more of an artistic view lol
 Now, it's maybe hard to tell, but in the first picture, you can kind of see where in the 2 green jar candles, there's a dip (the ring around the wick). I have since learned that this is what normally happens to wax when it cools down and constricts. This is fixed by keeping just a tad bit of wax still in the pot, so that when the wax is cool enough and has dipped, you pour that last little bit of wax in there and it's fixed! (I only just recently learned that part.)

We tried doing color dyes to match the holders, and then whatever colors for the clear holders and that worked out pretty good, except I couldn't get the brown figured out so we didn't dye it.

That attempt was so long ago, and I've had the supplies just sitting in my closet since then, not to see the light of day again... until I pulled them out last night!! Yay!! Welcome back my pretties!!

I was really more interested in an attempt at making my own scent this time. I have this incense that I LOVE! But..... bf can't really do burning incense because of his allergies... lame. So I wanted to see if I could take this incense:


Just scrape off the powder on the sticks...


I put the powder with some olive oil  in that little white container with the red lid (top left in above picture, yay 5-hour energies!!) and when I realized that after about 9 or 10 sticks, it still smelled like oil (boo), I went ahead and added a few drops of the vanilla scent to supplement. Then I went on to the wax, since it was warm enough (between 170°F and 200°F), I added my colors (I tried for brown this time by mixing all 3 colors got brown, just wish it was a little darker) and poured into the glasses! I also have dips in these too, which I was going to fix, but after what I thought would have been long enough for them to do this and they hadn't, I thought I was ok! I was wrong :(


The best part is that I forgot to put the scented oil in the wax while on the stove, and so poured it in the candle glasses AFTER I'd poured the wax and it had a couple minutes to start cooling! Whoops!! See that little level of almost black in the above picture, at the bottom of the candle? Yeah, that's the darn incense's black powder, even after I tried mixing it in!


The last candle I did, it's hard to tell why I took a picture but I poured a LOT of my scented, home-made oil in the wax while still on the stove. It had so much of the incense powder that even though I had dyes to turn the wax brown, this turned it almost black!! I also didn't have enough wax to fill the holder as this was only the wax that would have fixed the dips in the last 2! Teeheehee?

The only real big difference this time that I did and didn't do last time (because we were anxious to see what would happen without and to just make candles without instructions) was that I added stearic acid in these guys. Stearic acid is supposed to help the candle in lasting longer, holding the color better, the scents longer and make it more opaque I think? I burned all 3 last night and they at least seemed to not burn down nearly as quick as the big green ones from the 1st attempt with my mom, but was unable to get the smell as we were also cooking a turkey, and this was too overpowering. I will try burning them again a couple more times to see if I can even smell my incense or just the vanilla I added in... If I can't, I think I'll try to look up ways to make my own oil again and try another method. That is unless anyone out there has any tips? Pointers? Help!?

Next time I think I want to try making dipped pillars or something, and I will try to get better pictures with more of a step-by-step to show you guys. One of these days, I want to have bf make me or help me make my own one of these : 


So that I can make candles like this!!:


 YAY GOALS!!!


Wednesday, November 21, 2012

F1 2012 - Inaugural year in Austin, TX (not a crafty post, but just had to share!!)

Growing up, I wouldn't have thought I would be all that interested in going to anything like a car race, much less make a 3-day thing of it! But, here I am, 27 years old and not only did I get to attend F1 in Austin, TX on our first year running, but I HAD A BLAST!!!!

I'll admit, I've got this love/hate relationship with going fast... I looooooooove going fast!! I've even gotten up to 120 mph in the Mercury Sable I had years ago, but the damn regulator kept knocking me down to 118, but it was sooo much fun! Amazingly enough, I did NOT get pulled over for this! HA! I was even so comfortable, I was using my feet to drive, had the cruise control on, seat as far back as it would allow.... There was even a guy that caught up to me at some point and kept trying to get my attention!! Too funny. My bad experiences however are when I would be coming back up to Austin from taking a friend back to San Marcos or bringing her to Austin to stay the weekend (she schooled at Texas State). When you hit downtown/South Austin is when you really have to watch out as cops LOVE that area on IH-35. What's sad is knowing the 120mph before was no problem, but yet, going maybe 10 over hitting South Austin is what got me a couple speeding tickets... **siigh**

Fast forward to current and now I drive a standard car (2012 Juke, 6-speed manual with turbo) and love it! I love being able to control the shifting and when exactly I'll go this fast or that slow. It's especially much better than the automatic, crappy as all h*ll Ford Focus I had before. That thing could barely get up the hill outside my office! Now handling the hill is a breeze! Anywho, having the Juke and also a Suzuki SV650 motorcycle, I occasionally can't help but go fast! Speed limit is 65? That's nice,... I think I'll go about 70...75...80....I just don't do this very often, the bad thing is the paranoia I get knowing I do not want to be paying any speeding tickets anytime soon!

Anyone reading this ever watch American Dad? There's an episode where Francine gets bored of her and Stan's weekly date night since they go to the same restaurant, the same day of the week, same time, each and every week! She wants some adventure! At a stop light heading home from the restaurant one night, a guy in a 'fancy' car starts revving and makes eye contact with Stan! She says something like "Oh, Stan! That guy wants to race you! You should!!" Stan replies, "I know exactly what I'm going to do.. (light turns green, the guy shoots forward and Stan pulls out his cell phone) I'm going to call the cops, he shouldn't be driving like that!" Needless to say, Francine is a little frustrated but then she's got it in her head that she wants Stan to RACE! She becomes obsessed until he finally uses a friend's help to juice up their SUV, races it for a bit til she realizes they're a little old for that kind of life... I kinda feel her pain in the boredom, but what she maybe SHOULD have done was what we did: go to a race and just watch!!

F1 is a 3-day event full of cars driving around the track as you look on and marvel at the speed, the sound, the shinies!!! The first 2 days are mostly just practice sessions, then qualifiers (which determine best track speeds they use in the line-up order for the actual races) and then finally, the races themselves! Day 1, we sat in our Turn 12 seats for a little bit, but then decided to walk around the track and see what the General Admission areas views were. Impressively, there are a ton of awesome views from the GA spots so we'll probably do those more often than not for all the other races we plan on attending. We got pretty good views of the practice sessions though and I tried taking a bunch of pictures, but apparently my phone camera wasn't as good as I thought. I did get a bunch of videos but will only post my own pictures as you can easily google images and youtube videos that are far better quality than mine! Day 2 was the qualifiers and the first Ferrari race as well as the Historic Cars race. The most exciting part about the latter was that one of the cars spun out right in front of us in Turn 12 to face the wrong way, and we all held our breaths as the other cars behind him came around the bend and barely missed him! If one of these cars gets destroyed, that's thousands of dollars down the drain, not to mention the fact that these cars are 20-40 years old I believe!!!

Day 3 was the Porsche GT3 race, the 2nd Ferrari race and finally, the F1. It was sooo exciting seeing all these cars racing, the F1s are so loud you HAVE to have earplugs or else your ears will hate you! The Porsche race saw some excitement when 2 cars made contact around our turn and one blew it's radiator and barely was able to finish that last lap to cross the finish line! Yikes!! Then there's the F1.... 55 laps of loud!! I didn't know who to root for, but when 2nd place finally passed 1st in lap 43 and kept that lead? That was definitely exciting!

The stats from the day are that about 60K+ attended Thursday, 80K+ people attended Friday and 112K+ attended Sunday!! 80% of the ticket sales were outside Texas and 46 countries were represented in Austin with the people that came out!! Needless to say, it was crowded and there were people! People everywheeeeere!! 

Ok, I'm done blabbing on and will show you the pics I did get. Apologies on the quality as they were with my phone's camera, but, you get the idea of where we sat and what we got to see!


Sign as we were walking the path to get in the stadium. The path was probably about a mile from the entrance to the shuttle station and we realized this was in fact necessary as Sunday after all was done, the line was completely backed up from the shuttles to the entrance!! It was crazy packed and sooo insaaaane!!


We called the one on the left Moose Boy bc of the 'horn' on top! lol


My $12 Long Island Tea in a collectible glass; it's not a pint glass, but I like it! And the drink was pretty good too!

The tower off in the distance...
On the left are the teams tents and prep area.


All in all, it was a VERY fun weekend and I can't wait for next year, when I'll have more knowledge about what's going on and will have decided on who to root for in each race!  TTFN!!

Friday, November 16, 2012

Halloween 2012 - The Big Reveal and Pics!!

Here you have it!! The final product of all the work I put in to Halloween for 2012!!


Yet another ghoul I got done and up.... Don't ask how I got him up there without a ladder though, it included a stool.. on top of a chair.... and yeahhh.... surprisingly stable, but will (try) not to do again!


There was fishing line hanging across the doorway to the mini-hall for the bathroom that people had to walk under to get to the bathroom....Hanging fishing line makes for invisible creepies when you're least expecting it!
Welcome to my spooky village.....


It was also my bff's birthday party and thank goodness she had a blast! ;)


I just HAD to have a friend make this for me!! Even though I don't really eat guacamole.... shhhh!!


These are the only pumpkins carved for the contest I tried to do! :(
Hopefully next year's entries will be more plentiful!!! **fingers crossed!!**
Jello shot brain and skeleton heads and fingers!! Yum!!!

 Last but not least, me!! I attempted to be the infamous Elizabeth Bathory, and using my great grandma's dress, a corset that matched and some fake blood....


Unfortunately, since the corset is a real one, with double german steel boning and the fact that I'd been going non-stop that day (had a contest that morning for a group called Toastmasters first thing that day and wasn't prepared for a late start, late end and still had to finish food prep) and had little to eat, I could only keep the dress and corset on for a few hours. Somehow, the idea of getting a really good shot of my whole outfit before taking it off just did NOT occur to me!! :'( But you get the general idea....

Well guys, there you have it!! My Halloween decorations and party for 2012! Lemme know what you think in the comments!!


Thursday, November 15, 2012

Halloween and my obsession with DIY decorations - Pt 3 - 2012

For the final installation of my Halloween 2012 DIY decorations posts, I will begin with a PVC pipe ghoul! Reference: Making a standing ghoul

My ghoul!! A bit of chain, an old cape used for Renn Faire and the pvc pipe frame! Creepy, no?

I didn't get a chance to make hands, but people seemed to like him as-is. Next year though I plan on getting this guy hands so he can be properly shackled up! ;)

Next, a really simple creepy mirror! Reference: Spooky Mirror


For mine, I used a mirror my friend let me borrow and since I didn't wanna mess it up, I put a layer of crinkled up foil, spray painted it black, taped on the image above, added some web and voila!! It looked a little creepier when you walked by though since it was in a half-hallway through the front door of our house, but a few people did say it creeped them out!

Next, we have spiders!! Tons of them!! Coming out of the fireplace!! This one has no reference as I cam up with it all by my awesome self! ;)


I wanted to make my own spider web and spider but wasn't able to do so due to time constraints and a lot of day job business going on :( The web would have been a braided white yarn with some sort of frame and the spider I was thinking black yarn finger knitted for the legs, and maybe balloons and/or papier mache'd body parts. People seemed to be sufficiently creeped by this alone however, so I called it a success!

The spiders were stuck on the wall with just a little ball of tacky putty and the spider is one of those posable cardboard ones you can get pretty cheap usually. Tape that guy up, make it look like she's crawling down the wall, using the picture frame and curtain rods for footholds, tape and pin up a bunch of fake webbing...done!!

Something small I tried doing that didn't turn out quite like I wanted, again, time constraints.. a Pet Cemetary of sorts. No reference, but here's the picture showing what I did:

Front of the house, Halloween night.
This is more a picture of the front of the house and most of what I did for Halloween night, but we set the 'gravestones' out in my garden. The 'gravestones' were made with little boxes a friend got ahold of real cheap in bulk, about the size of the USPS $5 flat rate boxes that I painted gray and then put names on. I didn't get to put little stories on them, but I had Dolly 1, Dolly 2, Flipper, Seymour (from Futurama), Hooch (Turner and Hooch, movie with Tom Hanks), Cujo (of course!), Grundy (from the DC Comics Universe, a zombie supervillain but bf said he's considered more of a pet so.. **shrug**) and lastly, Old Yeller lol. Spread some webbing on the bushes, strung the cheapie little bag ghosts from the trees, set out the pvc ghoul on the tree and there ya go!

The last thing of real notice I wanted to show is a creepy, cheap village you can put on your counter! Reference: DIY Dollar Store Halloween Village


General haul when I went shopping one day. The porcelain villages are what I'm trying to point out in this one.
Example of the people I got to use.
All laid out, ready to paint!
Spray painted a layer on front and back to cover everything up with some black paint, including the little trees!

After spray painting, including an awesome wire tree I got at the Goodwill for just $1!!
My creepy village all laid out on the bar. I found some black scrap fabric, taped it down, and got some webbing and spray adhesive to spread it out. Then I just set the houses, trees and people around and boom! Spooky Dollar Store Village! I think all this only cost me $11!!
I'll go ahead and end here and next post will be the big reveal and all the pictures I've got from that night!! I wish I had more, but C'est La Vie......