I know it's been a loooooooooong time since I've posted on here, but I've been focusing a LOT of my energy on my day job. I am working with the Director of Business Process Improvement to build training documentation for my company as we haven't had a trainer or training team in quite awhile. My ultimate goal is to become said Trainer and be in charge of the training and documentation for the company, but it's taking a lot out of my mental time to be able to handle the tasks as a pilot training team lead in addition to doing my actual title the rest of the day.
On top of that however, I have gotten a 2nd job at the place we (nearly) all know and love here in the states, Joann Fabric and Crafts, for many reasons:
- Employee discount (duh!)
- Happy stress compared to some of the bad stress at my desk job
- People interaction I don't get sitting at a desk, sometimes talking to people on the phone and my co-workers
- The moving around instead of just going home and sitting on my butt like normal
- Learn new things all the time about crafts and supplies
- Get paid to talk about something I LOVE doing already anyways!
- Opportunity to attend classes and learn even more
- First dibs on occasion on some of the AWEsome fabrics we get in
Anywho, I've only been doing that a month now, but have already have it benefit me in my little wanna-be craft business! You see, I could never really figure out where all the small craft shows and fairs were happening, how to get in touch with the coordinator to get a booth and especially didn't know anyone else that was going to these things!
A couple weeks ago however, I was cutting a bunch of fleece for a woman and she was chit chatting to her friend about spending her "craft show funds" on this fabric. So, I did what any intelligent person would: I asked her, "Um, soooo what craft shows would you happen to be talking about?"
She and I had a little conversation about it being a craft show a few months ago but also about a show coming up on 11/1/14 in my city and when I told her, "See, I can just NEVER find out about the ones that DON'T cost me $200+ for a booth!! How do you find out?!" she simply replied, "Oh, you have to start going to the shows to find out about more......(cue my face freezing in shock!)....I can email you the flyer if you'd like..?" I had to refrain from jumping up and down as I excitedly said, "Yes! That would be fantastic!! Thank you!!"
And there you have it folks! I have the information, have talked to the coordinator, gotten the vendor application form just about filled out and now all I have to do is send it in with the measly $50 it'll cost me for a full booth of 100 sq ft and TA-DAAA!!! I'll be attending my first craft show as a vendor EVAR!!
Only problem is now... making sure I plan out whatever displays I want to use, I've talked with a friend about sitting at the booth with me......... UH OH!! I don't actually have that much stock to put out!!
I guess that just means I will be taking every opportunity (except for this past Sunday as it was my first weekend day off in a MONTH so you bet your patootie I sat there watching tv and napping all day!!) to make what all I can!!
On the roster/application I've got:
- Jewelry
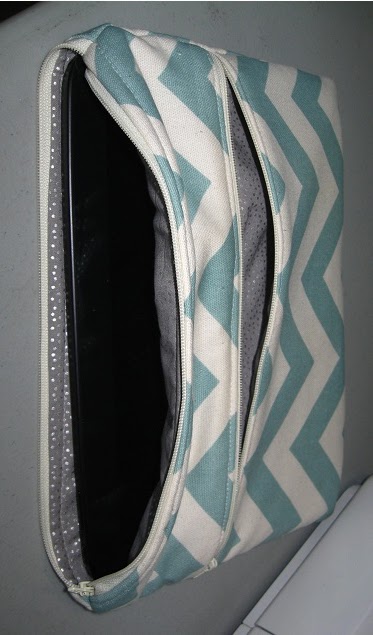
- Clutches
- Purses/bags
- Scarves
- Perler sprites
- Miniature canvas art
- Embroidery hoop art - 3" - 4"
I already have all the jewelry I've made through the years without selling, and I have the clutches that didn't sell when I had that consignment before, plus the displays I'd made for both.... Now I just have to make some of the other items I listed up there and figure out displays, enough to fill what I can of a 100 square feet space!
This should be....easy?.........oh goodness.....